

TL;DR:
- Following a home DNA test checklist ensures uncontaminated samples for accurate results. Strict adherence to hygiene, proper collection, drying, labeling, and shipping procedures prevents sample rejection and retests. Proper technique, including firm swabbing and correct packaging, is critical for reliable, court-admissible DNA testing.
A home DNA test preparation checklist is a step-by-step set of guidelines that ensures clean, uncontaminated, and properly collected DNA samples for accurate genetic analysis. Following these steps strictly is the single most effective way to avoid sample rejection, testing delays, and costly retests. The standard collection method for at-home testing is the buccal swab, a cheek swab technique that is non-invasive, painless, and stable at room temperature after drying. Skipping even one step on this sample collection checklist, such as eating before collection or sealing a wet swab, is enough to invalidate your sample. US Diagnostics Center recommends every family review this checklist before opening the kit.
1. What is the home DNA test preparation checklist?
A home DNA test preparation checklist is the ordered set of steps you follow before, during, and after collecting your cheek swab sample. Think of it as the protocol that stands between you and a reliable result. Labs process samples based on DNA quantity and quality. If either falls short, the lab rejects the sample and you start over.
The checklist covers four phases: pre-collection hygiene, sample collection technique, drying and packaging, and labeling and shipping. Each phase has specific requirements that are grounded in professional DNA collection guidelines. Skipping any phase increases the risk of failure.
2. What are the fasting and hygiene steps before sample collection?
Avoiding eating, drinking, smoking, chewing gum, or brushing teeth for 30–60 minutes before collection is the single most critical pre-collection rule. Food debris and bacteria introduced into the mouth contaminate the swab and interfere with DNA extraction. Non-compliance is the leading cause of sample rejection across home DNA tests.
Here is what to do in the 30–60 minutes before you collect:
- Do not eat any food, including snacks or candy
- Do not drink anything except plain water, and stop water 30 minutes before collection
- Do not smoke, chew gum, or use mouthwash
- Do not brush your teeth immediately before collection
- Wash your hands thoroughly with soap and water, or put on clean disposable gloves, before opening the swab packaging
Hand contamination is a frequently overlooked failure point. Skin cells, oils, and bacteria from unwashed hands transfer directly to the swab tip and compromise the sample.
Pro Tip: Set a phone timer for 45 minutes before your planned collection time. Use that window to complete the hygiene steps and let your mouth clear naturally.
3. How to properly collect a DNA sample using buccal swabs at home
Buccal swabs are medically preferred for home DNA testing because they are non-invasive, painless, and stable at room temperature after drying. Blood samples require complex cold-chain storage. Cheek swabs do not. That makes them the right tool for at-home use.
Follow these steps in order for each swab:
- Open the swab packaging without touching the cotton tip. Hold the handle only.
- Place the swab tip against the inside of one cheek.
- Rub firmly in a circular or back-and-forth motion for 30–60 seconds. Apply enough pressure to feel a slight tingling sensation, not pain.
- Rotate the swab as you rub to collect cells from all surfaces of the cheek.
- Remove the swab and repeat the process on the other cheek with a fresh swab.
- Do not blow on the swab tip or touch it with your fingers after collection.
Firm, consistent pressure is required because light contact yields insufficient epithelial cells for analysis. A slight tingling sensation confirms you are collecting enough cells. If you feel nothing, you are not pressing firmly enough.
Cheek swabs provide more concentrated DNA compared to saliva alone and are preferred over blood draws for home testing due to ease and reliability. They yield high-quality genomic DNA required for relationship testing with statistical certainty.
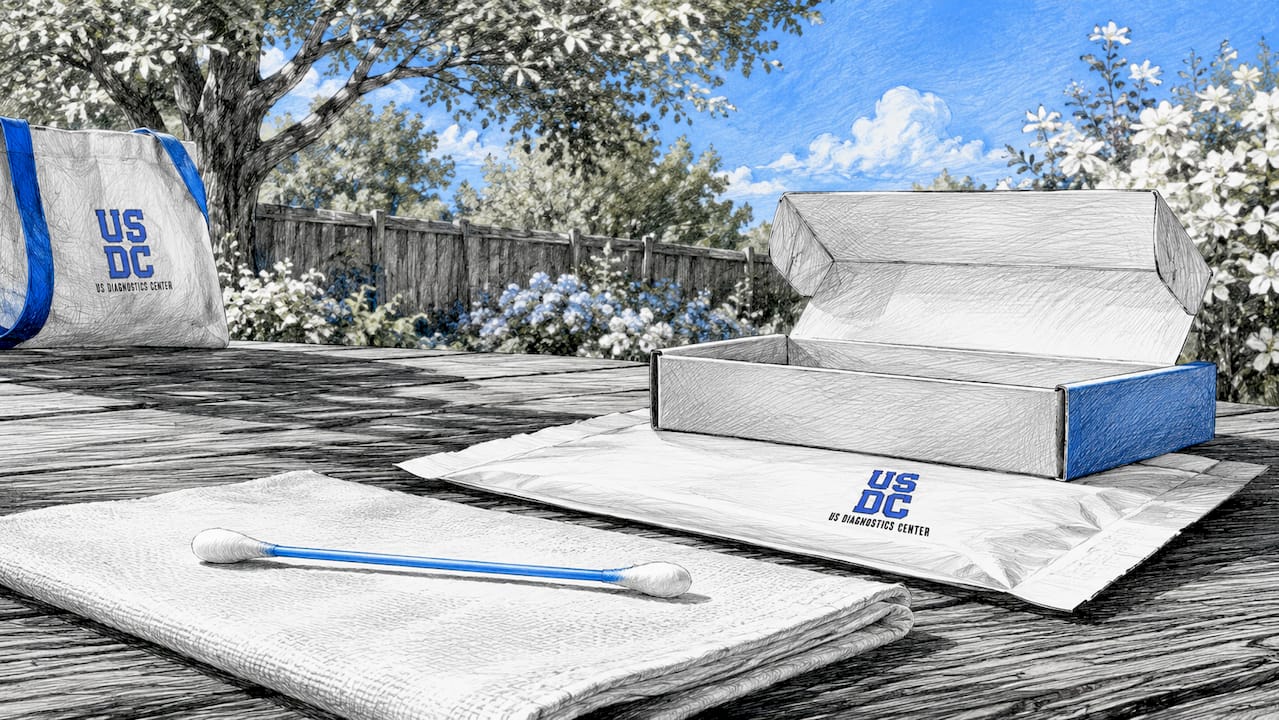
Pro Tip: Most kits include multiple swabs per person. Use all of them. More swabs mean more DNA, which gives the lab better material to work with and reduces the chance of a retest.
4. What are the best practices for drying, storing, labeling, and shipping your sample?
Proper handling after collection is where many families make avoidable mistakes. The steps below protect DNA quality from the moment the swab leaves your mouth to the moment it arrives at the lab.
Drying your swabs
Swabs must air-dry for 1–2 minutes before packaging. Sealing a wet swab traps moisture, which promotes mold growth and degrades DNA. Hold each swab by the handle and wave it gently in the air, or rest it on a clean surface without touching the tip.
Packaging your swabs
- Place dried swabs in the breathable paper envelopes or ventilated tubes included in your kit. Never use plastic bags or airtight containers.
- Do not allow swab tips to touch each other inside the packaging.
- Seal the envelope or tube as directed by the kit instructions.
Labeling your samples
Label each sample with the person's full name, the collection date, and collector initials where required. Missing or incorrect labels are a direct cause of lab rejection. Write clearly and match the label information exactly to the paperwork inside the kit.
Shipping your samples
| Step | Requirement |
|---|---|
| Packaging | Use the prepaid return shipping envelope included in the kit |
| Temperature | Ship at room temperature; avoid leaving the package in a hot car or mailbox |
| Timing | Mail the sample on the same day as collection when possible |
| Tracking | Keep the tracking number until results are confirmed |
5. What common mistakes should you avoid to prevent sample rejection?
Most failed home DNA tests trace back to a short list of preventable errors. Recognizing these mistakes before you collect saves time, money, and frustration.
- Eating or drinking too close to collection. Food residue and bacteria contaminate the swab. The 30–60 minute fasting window is not optional.
- Light swabbing pressure. Insufficient epithelial cell capture from light pressure is a frequent cause of sample failure. Press firmly enough to feel a slight tingling.
- Sealing swabs before drying. This is the most non-obvious mistake. Moisture trapped inside the envelope causes mold growth that destroys DNA before the lab ever opens the package.
- Incorrect or missing labels. A swab with no name or the wrong date cannot be matched to its paperwork. The lab discards it.
- Touching the swab tip. Skin contact after collection introduces foreign DNA and contaminates the sample.
- Not following chain of custody steps for legal tests. Missing signatures or unsigned tamper seals cause rejection before analysis even begins.
"The process is user-friendly, but strict timing adherence is required to avoid costly retests. Human error during collection, especially from eating or smoking too close to test time and improper drying, is the most common reason samples fail."
Correcting these mistakes before collection eliminates the most common reasons for delays and retests. Review the top DNA testing misconceptions if you want to clear up any remaining uncertainty before you start.
6. How to adapt the checklist for children or legal DNA tests
Standard collection steps apply to most adults, but two situations require additional attention: collecting from young children and collecting for legal purposes.
Collecting from infants and young children
Young children cannot follow instructions, and forceful swabbing is not appropriate. Gently rubbing the inside of the cheek with the tongue for 30 seconds helps loosen cells before swabbing. For infants, a parent or guardian performs the collection by rubbing the swab firmly but gently along the inner cheek. Use all swabs provided and allow full drying time before packaging.
Collecting for legal DNA tests
Legal admissibility requires a documented chain of custody. Chain of custody requirements include signing tamper-evident seals and matching labels and paperwork exactly. Missing signatures or mismatched information cause lab rejection before testing begins.
Additional steps for legal collections include:
- A neutral third party or authorized collector witnesses and documents the collection
- Each participant signs the chain of custody form at the time of collection
- Tamper-evident seals are signed across the flap of each envelope
- All paperwork matches the label information on every sample exactly
- The sealed kit is returned promptly using the provided shipping envelope
Following these steps is what makes results court-admissible. Skipping any one of them can disqualify the entire test.
Key Takeaways
Accurate home DNA test results depend on following each preparation step correctly, from fasting and hygiene through drying, labeling, and shipping.
| Point | Details |
|---|---|
| Fast before collection | Avoid eating, drinking, smoking, or brushing teeth for 30–60 minutes before swabbing. |
| Apply firm swab pressure | Press firmly enough to feel a slight tingling; light contact yields insufficient DNA. |
| Air-dry swabs before sealing | Allow 1–2 minutes of drying to prevent mold and DNA degradation inside the package. |
| Label every sample correctly | Include full name, collection date, and collector initials to prevent lab rejection. |
| Follow chain of custody for legal tests | Sign tamper seals and match all paperwork exactly when results must be court-admissible. |
Why the checklist matters more than you think
People consistently underestimate how much the preparation steps affect the final result. The assumption is that the lab does the hard work. That is true for analysis. But the lab can only work with what you send them. If the sample is contaminated, too thin, or mislabeled, no amount of laboratory expertise fixes it.
The biggest misconception I see is that families think they need a "perfect" sample on the first try. What actually matters is strict timing and technique adherence. A sample collected with firm, consistent pressure after a proper fasting window, dried fully, and labeled correctly will almost always pass lab quality checks. The checklist is not about perfection. It is about removing the variables that cause failure.
Retests are frustrating and delay results that families often need urgently. The 30–60 minute fasting rule feels inconvenient until you consider that skipping it is the single most common reason samples get rejected. Slow down, follow the steps in order, and the process is straightforward. The DNA test kit contents are designed to make collection simple. Your job is to follow the protocol, not improvise.
— Todd
US Diagnostics Center makes the next step straightforward
Preparing your sample correctly is only part of the process. Choosing the right test for your situation matters just as much.
US Diagnostics Center offers a full range of home DNA test kits for paternity, maternity, sibling, grandparent, and aunt/uncle relationships, starting at $79. Every kit includes a prepaid return shipping envelope and detailed collection instructions. Lab processing takes 2–3 business days, with standard order-to-results delivery in 7–10 business days. Families who need court-admissible results can learn more about the legal DNA test collection, which includes full chain of custody documentation. Every home relationship test analyzes up to 28 genetic markers for reliable relationship confirmation.
FAQ
How long before a DNA test should I stop eating?
Stop eating, drinking anything other than water, smoking, and chewing gum at least 30–60 minutes before collection. This prevents food debris and bacteria from contaminating the swab.
What happens if I seal the swab before it dries?
Sealing a wet swab traps moisture, which causes mold growth and degrades DNA before the lab can analyze it. Always air-dry swabs for 1–2 minutes before packaging.
How hard should I rub the swab on my cheek?
Apply firm pressure until you feel a slight tingling sensation. Light contact does not collect enough epithelial cells for reliable DNA analysis.
Can I collect a DNA sample from a baby or toddler?
Yes. Gently rub the inside of the child's cheek with the swab using firm but gentle pressure. For infants, a parent performs the collection. Use all swabs provided and allow full drying time before sealing.
What makes a home DNA test legally admissible?
Legal admissibility requires a documented chain of custody, including a neutral witness, signed tamper-evident seals, and exact matching between labels and paperwork. A standard home test without these steps is not court-admissible.
Recommended
- How Fast Home DNA Test Results Arrive: A Clear Guide | USDC
- What Is Included in a DNA Test Kit: Full Guide | USDC
- How DNA Testing Works: Step-by-Step Guide | USDC
This article is part of our Understanding DNA Testing: How It Works and What to Expect guide.


0 comments