

TL;DR:
- Following home DNA test instructions precisely is essential to prevent contamination and ensure reliable results. Proper sample collection, labeling, and timely mailing are crucial for accurate analysis by CLIA-certified labs. Missteps during collection can lead to retests, delays, and costs, emphasizing the importance of careful adherence.
Home DNA test kit instructions define the exact steps required to collect, label, and ship biological samples from your home so a certified lab can produce trustworthy results. Following these steps precisely is not optional. Contamination during collection is a leading cause of invalid results, meaning a single mistake can delay your answers and add costs. Labs processing samples under CLIA-certified federal standards deliver higher reliability, but only when the sample you send them is clean and correctly collected. US Diagnostics Center processes home paternity tests starting at $79, with results typically returned within 2–3 business days of lab receipt.
What do home DNA test kit instructions require before you start?
Preparation determines whether your sample reaches the lab in usable condition. Reading all instructions before touching any kit component is the single most effective way to avoid errors. Most people skip this step and pay for it later with a retest.
What comes in a standard kit
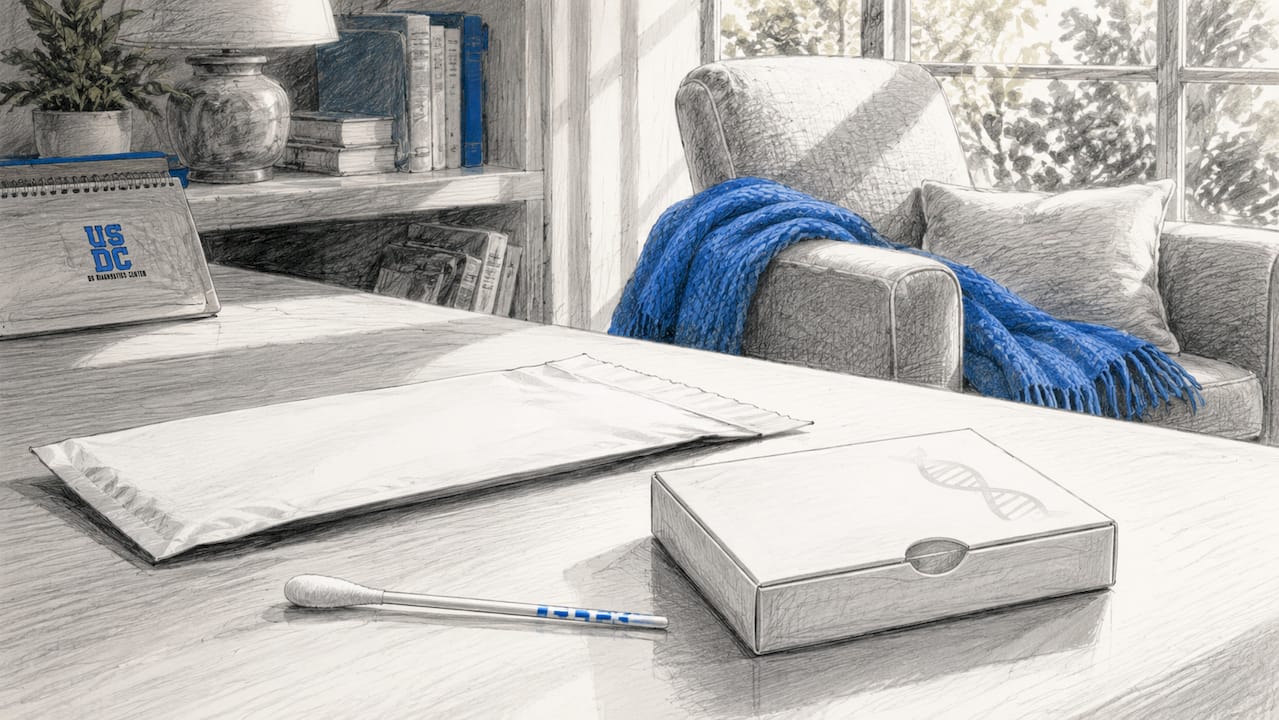
A typical home DNA test kit includes the following components:
- Buccal swabs (usually 2–4 per participant)
- Labeled collection envelopes for each swab
- Participant information forms for recording names, dates, and relationships
- A prepaid return shipping envelope
- A printed instruction sheet specific to the test type
Some providers also include a barcode or QR code for online kit registration. US Diagnostics Center kits include a prepaid return shipping envelope, so you do not need to arrange separate postage.
Pre-collection preparation steps
| Preparation Step | Why It Matters |
|---|---|
| Avoid eating, drinking, or smoking for 30–60 minutes before collection | Food and drink residue contaminates the DNA sample |
| Brush teeth or rinse mouth at least 30 minutes before swabbing | Reduces oral bacteria and improves DNA purity |
| Wash hands thoroughly before handling swabs | Prevents cross-contamination between participants |
| Choose a clean, well-lit surface | Reduces the risk of swabs touching contaminated surfaces |
| Register the kit online if required | Links your sample to your order and prevents processing delays |
Avoiding all mouth activity for 30–60 minutes before sampling is the most frequently cited preparation rule across clinical guidance. Skipping this step is the most common reason samples fail at the lab. Oral hygiene completed at least 30 minutes before collection also improves DNA purity by reducing competing biological material on the swab.
Pro Tip: If you are collecting samples from a young child or infant, use a clean, dry swab and collect the sample before any feeding or drinking. Infants produce less saliva, so a clean oral environment matters even more.
How do you correctly collect your DNA sample at home?
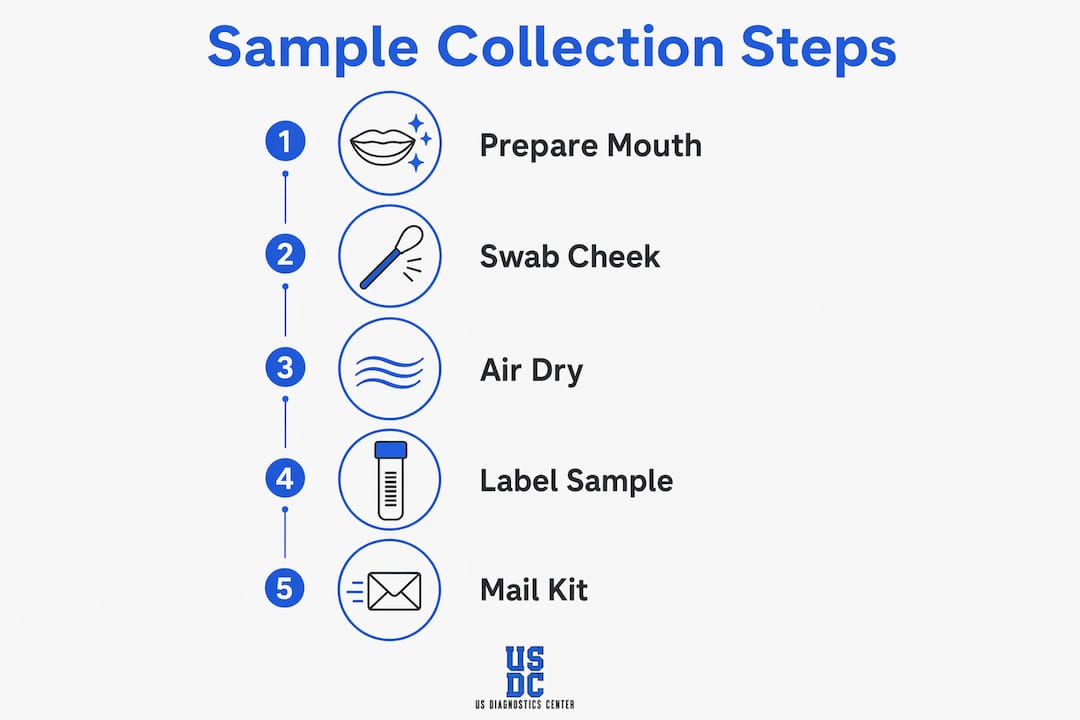
The collection process for a standard cheek swab, also called a buccal swab, follows a specific sequence. Deviating from that sequence, even slightly, risks an insufficient or contaminated sample. The steps below apply to the most common home paternity and relationship test format.
Step-by-step collection sequence
-
Open the swab packaging without touching the tip. Hold the swab by its handle only. The cotton or foam tip must not contact your fingers, the table, or any surface before it enters the mouth.
-
Place the swab tip firmly against the inside of one cheek. Apply moderate pressure and rotate the swab in a circular motion for 30–60 seconds. You are collecting epithelial cells from the cheek lining, not saliva.
-
Remove the swab and allow it to air dry for 30–60 seconds. Do not blow on it or wave it. Set it on a clean, dry surface without letting the tip touch anything.
-
Repeat with the second swab on the opposite cheek. Using both cheeks increases the DNA yield and reduces the chance of an insufficient sample.
-
Place each swab into its labeled collection envelope immediately after drying. Do not place a wet swab into the envelope. Moisture causes mold growth, which destroys the DNA.
-
Write the participant's full name and date of collection on the envelope. Use a ballpoint pen. Felt-tip markers can bleed through the paper and obscure information.
-
Seal the envelope completely. Press along all edges to confirm the seal. A partially open envelope can expose the swab to contamination during shipping.
-
Repeat the entire process for each participant. Each person in the test requires their own swabs and their own labeled envelope. Never mix swabs from different participants in the same envelope.
-
Place all sealed envelopes and completed forms into the prepaid return shipping envelope. Confirm that every required document is included before sealing.
-
Mail the package promptly, ideally the same day or the next business day. DNA on a swab degrades over time, particularly in heat. Delays in mailing reduce sample quality.
Pro Tip: If you experience dry mouth during collection, drink a small amount of water at least 30 minutes before you begin. Adequate moisture in the mouth helps cells transfer to the swab more effectively. Do not chew gum or eat anything to stimulate saliva, as this introduces contaminants.
Accurate labeling is as important as the swab technique itself. A mislabeled sample cannot be matched to the correct participant, which forces a retest. Write clearly, confirm spelling, and double-check the date before sealing.
What are the most common mistakes in home DNA sample collection?
Invalid or contaminated samples require retesting, which adds both delays and costs. Most errors are preventable with careful preparation and strict adherence to the instructions included in your kit.
Errors that invalidate samples most often
- Eating or drinking within 30 minutes of collection. Food particles and beverages coat the cheek lining and block DNA transfer to the swab.
- Touching the swab tip with your fingers. Skin cells from your hand contaminate the swab with foreign DNA.
- Placing a wet swab into the collection envelope. Moisture promotes mold, which destroys the sample before it reaches the lab.
- Mixing swabs from different participants in one envelope. Cross-contamination makes the sample unreadable.
- Failing to complete the participant information form. An unlabeled or incomplete sample cannot be processed.
- Mailing samples in extreme heat without prompt shipping. DNA degrades faster at high temperatures, particularly in a car or mailbox in direct sunlight.
Strict adherence to collection instructions is the single most effective way to protect the accuracy of your results. A technically sound lab cannot produce reliable data from a compromised sample. If you are unsure whether your sample was collected correctly, contact the provider before mailing and request a replacement swab set.
CLIA-certified labs meet federal quality and staff qualification standards, which means the lab analysis itself is reliable. The weak point in home testing is always the collection step, not the lab. Knowing this shifts responsibility clearly to the person collecting the sample.
US Diagnostics Center analyzes samples using up to 28 genetic markers, which provides a high-resolution comparison between participants. That level of analysis only produces meaningful results when the sample arrives uncontaminated and correctly labeled.
How do you understand your DNA test results and what comes next?
Understanding DNA test results requires knowing what type of test you ordered and what the report is actually measuring. A home paternity test result, for example, reports a probability of paternity, not a simple yes or no. A result above 99% is considered a positive inclusion, while a result of 0% is a definitive exclusion.
What your results report and what it does not
- Relationship tests (paternity, maternity) report a statistical probability of biological relationship based on shared genetic markers. Kinship tests (sibling, grandparent, and similar non-parentage relationships) report a Combined Relationship Index (CRI): a CRI above 10 is supportive of the claimed relationship, a CRI below 0.1 is not supportive, and values in between are inconclusive, per AABB standards.
- Results are not a medical diagnosis. They confirm or exclude a biological relationship. They do not screen for health conditions.
- Direct-to-consumer tests have limitations. False positives of approximately 40% can occur in consumer-grade health-related tests when reviewed by clinical labs. This underscores why professional interpretation matters for any health-related result.
- Legal admissibility requires a specific collection process. A standard home test is not court-admissible. If you need results for child support, custody, or immigration proceedings, you need a legal DNA test collected under chain-of-custody protocols.
- Privacy policies vary by provider. Review how your provider stores, shares, or uses your genetic data before submitting a sample.
Direct-to-consumer DNA tests are best viewed as a starting point, not a final answer. Clinical confirmation and genetic counseling are advised, particularly for any result that carries health implications. Genetic counselors also recommend reviewing family history alongside test results when assessing hereditary risk factors.
If your results raise questions about a biological relationship and you need those results to hold up in court, US Diagnostics Center offers home DNA testing for personal knowledge. Legal DNA test kits are Coming Soon. Standard home paternity testing starts at $79. Sibling, grandparent, and aunt/uncle tests are available at $139.
Key Takeaways
Accurate home DNA testing depends entirely on correct sample collection, because even a technically advanced lab cannot recover a contaminated or mislabeled swab.
| Point | Details |
|---|---|
| Preparation is non-negotiable | Avoid eating, drinking, or smoking for 30–60 minutes before collecting any sample. |
| Swab technique determines sample quality | Rotate the swab firmly against the cheek lining for 30–60 seconds and air dry before sealing. |
| Labeling errors force retests | Write each participant's full name and collection date on every envelope before sealing. |
| CLIA-certified labs require clean samples | Lab accuracy is high, but only when the sample arrives uncontaminated and correctly handled. |
| Legal use requires a different process | Home test results are not court-admissible; legal DNA tests follow chain-of-custody protocols. |
Why precision in home DNA testing matters more than most people expect
People underestimate how much the collection step controls the outcome. I have reviewed enough failed sample reports to say with confidence that the lab is rarely the problem. The problem is almost always a wet swab sealed too early, a form left blank, or a sample mailed three days after collection in a hot car.
The other thing people consistently overlook is the difference between a result and a decision. A home test can tell you whether two people share a biological relationship with a high degree of statistical confidence. It cannot tell you what to do with that information legally, medically, or personally. That distinction matters enormously when families are making decisions about custody, inheritance, or medical history.
Lab certification is not a marketing detail. CLIA-certified lab processing builds legitimate confidence in results because it means the lab meets federal standards for staff qualifications and quality control. which adds a further layer of quality assurance specific to relationship DNA testing.
My honest advice: treat the instruction sheet as a clinical protocol, not a suggestion. Read it fully before opening any packaging. If anything is unclear, call the provider before you start. A five-minute phone call costs nothing. A retest costs time, money, and in some cases, emotional strain that families do not need.
— Todd
US Diagnostics Center's approach to accurate home DNA testing
Families who need clear, reliable answers deserve a process that does not leave room for guesswork in the instructions.
US Diagnostics Center designs its home DNA test kits with step-by-step instructions aligned to clinical collection standards. Every kit includes a prepaid return shipping envelope and is processed in a CLIA-certified lab using up to 28 genetic markers. Results are typically available within 2–3 business days of lab receipt, with a standard order-to-results window of 7–10 business days. For situations requiring court-admissible documentation, US Diagnostics Center offers home DNA testing for personal knowledge. Legal DNA test kits are Coming Soon. If you are ready to order or want to find the right test for your situation, US Diagnostics Center's guided selection tool matches your specific family scenario to the most appropriate and affordable option.
FAQ
What should I do 30 minutes before collecting a DNA sample?
Avoid eating, drinking, smoking, or chewing gum for 30–60 minutes before collection, and brush your teeth or rinse your mouth at least 30 minutes beforehand to improve sample purity.
How long does a home DNA swab need to air dry before sealing?
Allow each swab to air dry for 30–60 seconds after collection before placing it in the collection envelope. Sealing a wet swab promotes mold growth, which destroys the DNA.
Are home DNA test results admissible in court?
Standard home DNA test results are not court-admissible. Legal proceedings require a chain-of-custody collection process, which
What happens if my sample is contaminated or invalid?
An invalid or contaminated sample must be retested, which causes delays and additional costs. Strict adherence to the kit instructions is the most reliable way to avoid this outcome.
When should I consult a genetic counselor after receiving results?
Genetic counselors recommend professional consultation whenever results carry health implications or when interpreting hereditary risk factors, since direct-to-consumer tests are a starting point, not a clinical diagnosis.
Recommended
- Half Sibling DNA Test | $139 | USDC
- Understanding DNA Testing: How It Works and What to Expect | USDC
- Home DNA Test | DNA Testing Glossary | USDC
This article is part of our Understanding DNA Testing: How It Works and What to Expect guide.


0 comments