

The paternity test cheek swab procedure collects buccal cells from the inner cheek using a sterile cotton swab, providing enough DNA for laboratory analysis to confirm or exclude biological parentage. The process is non-invasive, takes only a few minutes per person, and delivers reliable results when performed correctly. Here is what the procedure involves at a glance:
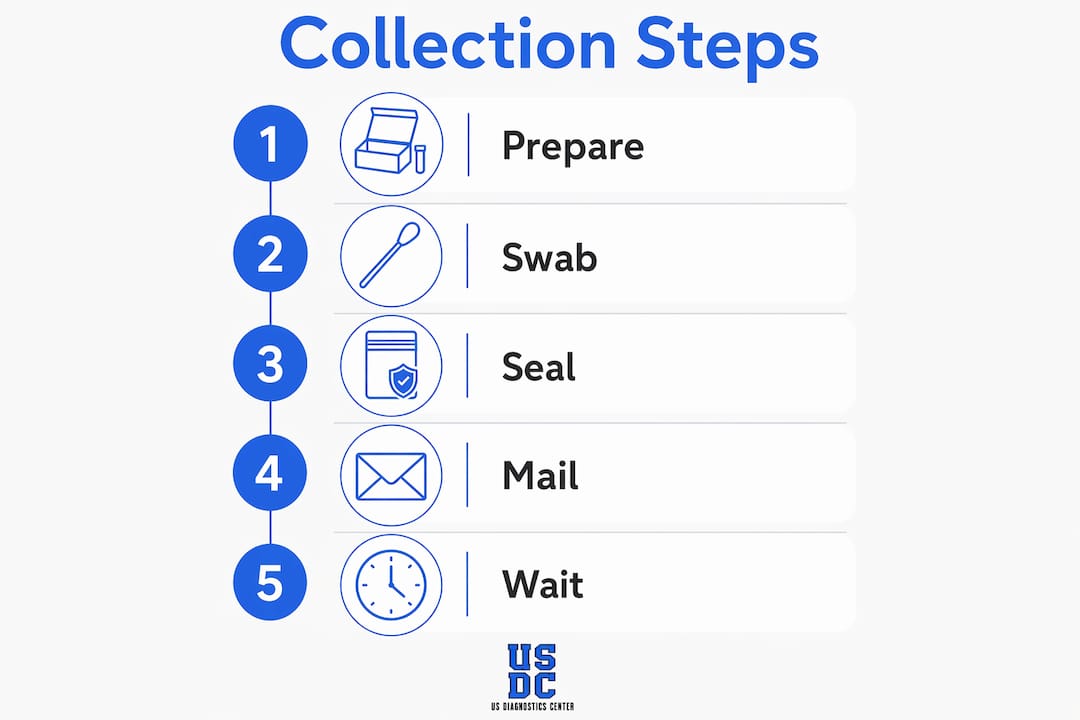
- Prepare: Avoid eating, drinking, or smoking for at least one hour before swabbing.
- Swab: Rub the sterile swab firmly inside each cheek for enough time to collect a sufficient sample, rotating as you go.
- Package: Seal swabs per kit instructions and place them in the prepaid return envelope.
- Send: Mail the samples to the lab and await results within 7–10 business days.
Pro Tip: Follow every instruction in your kit precisely. A single deviation, such as touching the swab tip or swabbing too soon after a meal, can compromise the sample and delay your results.
US Diagnostics Center processes cheek swab samples using a panel of multiple genetic markers, providing results within a few business days after lab receipt.
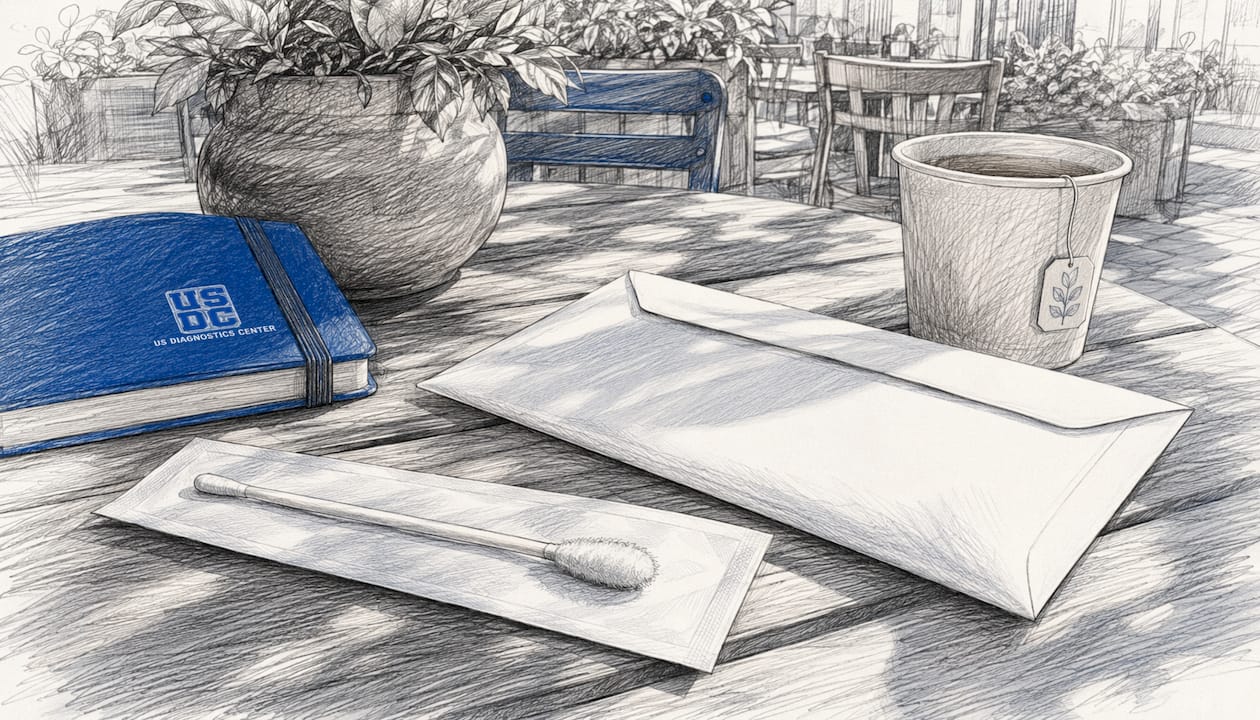
Table of Contents
- What is DNA paternity testing and why does it matter?
- How to prepare before collecting your cheek swab sample
- Step-by-step cheek swab collection procedure
- Risks and common errors that affect cheek swab accuracy
- How long does it take to get results after submitting your sample?
- How to read and understand your paternity test results
- US Diagnostics Center offers straightforward at-home DNA testing
- Key Takeaways
- FAQ
What is DNA paternity testing and why does it matter?
DNA paternity testing establishes whether a specific man is the biological father of a child by comparing genetic markers shared between the two. Courts, child support agencies, and families rely on these results for legal determinations, inheritance decisions, and personal clarity. The cheek swab is the standard, non-invasive sample collection method used in the vast majority of paternity tests today.
Common reasons people pursue paternity testing include:
- Establishing legal parentage for child support or custody proceedings
- Confirming biological relationships for personal peace of mind
- Verifying family connections for medical history purposes
- Supporting estate and inheritance claims
When proper collection procedures are followed, cheek swab DNA tests yield results with a high degree of reliability. US Diagnostics Center analyzes samples against up to 28 genetic markers, a marker count that supports confident inclusion or exclusion conclusions. The science behind paternity testing is well established, and the cheek swab method has been validated across clinical and at-home settings throughout the United States.
How to prepare before collecting your cheek swab sample
Preparation directly affects sample quality. Waiting at least one hour after eating, drinking, smoking, or any oral hygiene activity reduces bacterial contamination and preserves human DNA yield on the swab. Food residue and sugary drinks encourage bacterial growth that can crowd out the buccal cells the lab needs.
Pro Tip: The ideal time to swab is first thing in the morning, before eating, drinking, or brushing your teeth. If morning is not possible, wait the full hour after any oral activity before proceeding.
Additional preparation steps:
- Wash hands thoroughly with soap and water before opening the kit.
- Remove dentures before swabbing and rinse the mouth with water. Denture adhesives contain chemicals that can destroy DNA on the swab and invalidate the sample entirely.
- Avoid touching the swab tip at any point during preparation or collection.
- If you or the person being tested is ill with a cold or oral infection, consider waiting until recovery, since illness can affect cell quality.
- Work on a clean, flat surface and keep the swab packaging sealed until the moment of collection.
Step-by-step cheek swab collection procedure
Use only the sterile swabs included in your kit. Substituting household cotton swabs introduces contamination risk and may void the test. The following steps apply to standard at-home cheek swab DNA test kits.
- Open the swab packaging from the end opposite the swab tip. Grip the handle, not the tip.
- Insert the swab into the mouth and position it against the inner cheek.
- Rub firmly in a circular or back-and-forth motion for 30–60 seconds per cheek, rotating the swab to use both sides of the tip and maximize cell collection.
- Repeat on the opposite cheek using a fresh swab. Using both cheeks increases DNA yield and reduces the chance of an insufficient sample.
- Seal the swab according to kit instructions, either by snapping off the tip into a vial or pushing it down into the provided tube. Do not let the tip touch any external surface after collection.
- Allow swabs to air dry if the kit instructs it, then seal tightly in vials before packaging. Moisture trapped in sealed vials can degrade DNA during transit.
- Package all samples in the prepaid return envelope, include any required consent or identification forms, and seal the envelope securely.
Pro Tip: Many kit providers, including US Diagnostics Center, offer video tutorials accessible via QR code or their website. Watching the tutorial once before opening the kit prevents the most common collection errors.
Proper specimen handling standards during sealing and shipping are as critical as the swabbing itself. A well-collected sample can still fail if packaging is compromised.
Risks and common errors that affect cheek swab accuracy
Contamination is the primary risk to cheek swab accuracy. Human skin cells transfer easily from fingertips to swab tips, introducing foreign DNA that can confuse laboratory analysis. The following errors account for the majority of sample failures and retests:
- Touching the swab tip with fingers before or after collection
- Eating, drinking, or smoking within one hour of swabbing
- Insufficient rubbing time, which yields too few buccal cells for reliable analysis
- Skipping one cheek, reducing total DNA volume
- Failing to remove dentures or rinse out adhesive residue before swabbing
- Improper packaging, including wet swabs sealed in airtight vials or missing consent forms
For legal paternity testing, chain-of-custody documentation adds another layer of requirements. Court-admissible results require strict handling protocols, witnessed collection, and specific courier procedures that differ from standard at-home testing. If you need results for a court proceeding, review the legal DNA testing requirements before ordering a kit, since a home test collected without chain-of-custody documentation cannot be submitted as legal evidence.
How long does it take to get results after submitting your sample?
Once the lab receives your cheek swab samples, processing typically takes 2–3 business days. Accounting for shipping time in both directions, the standard order-to-results window runs 7–10 business days. Expedited options may be available for urgent situations.
After the lab receives your samples, the process follows these stages:
- DNA extraction: Buccal cells are separated from the swab material and DNA is isolated.
- Marker analysis: The lab compares genetic markers across all submitted samples.
- Verification: Results are reviewed for consistency and quality before reporting.
- Report delivery: Results are sent electronically or by mail, depending on the service selected.
If your results are delayed beyond the expected window, contact customer service with your sample tracking number. Common causes of delays include insufficient sample volume, damaged packaging, or missing consent documentation.
How to read and understand your paternity test results
Paternity test results compare genetic markers, called alleles, between the child and the alleged father. Each person inherits one allele at each marker from each biological parent, so a biological father and child will share alleles at every marker tested.
| Result Category | What It Means |
|---|---|
| Paternity Included | Alleles match at all tested markers; biological relationship confirmed |
| Paternity Excluded | Alleles do not match; the tested man is not the biological father |
| Probability of Paternity | Expressed as a percentage; values at or above 99% indicate inclusion |
| Inconclusive | Insufficient DNA or sample quality; retest required |
When collection and laboratory procedures meet established standards, cheek swab paternity tests produce highly reliable results. US Diagnostics Center reports results with 99.99% accuracy, analyzing up to 28 markers per sample. A home test result carries the same genetic conclusions as a lab-ordered test, though it lacks the chain-of-custody documentation required for court submission. For legal proceedings, a court-admissible DNA test collected under witnessed, documented conditions is required.
US Diagnostics Center offers straightforward at-home DNA testing
At-home paternity testing does not have to be complicated or expensive. US Diagnostics Center provides cheek swab DNA test kits starting at $79 for paternity testing, with results delivered within 7–10 business days and lab processing completed in 2–3 business days. Each kit includes a prepaid return shipping envelope, so returning your samples requires no additional cost or logistics.
US Diagnostics Center analyzes up to 28 genetic markers per sample and reports results at 99.99% accuracy. AABB accreditation represents the gold standard for relationship testing laboratories, establishing rigorous quality and chain-of-custody requirements across the industry. Relationship testing options extend beyond paternity to maternity ($129), and sibling, grandparent, or aunt/uncle testing ($139). If you are ready to get answers, order your home DNA test kit directly from US Diagnostics Center and receive your collection materials within days.
Key Takeaways
A correctly performed cheek swab paternity test requires at least one hour of preparation before collection, firm 30–60 second swabbing on both cheeks, and proper sealed packaging to protect sample integrity during transit.
| Point | Details |
|---|---|
| Preparation window | Wait at least one hour after eating, drinking, or smoking before swabbing. |
| Swabbing technique | Rub each cheek firmly for an adequate duration, rotating the swab to maximize cell collection. |
| Contamination risk | Never touch the swab tip; skin cells from fingers introduce foreign DNA and can invalidate results. |
| Results timeline | Lab processing takes 2–3 business days; total order-to-results typically runs 7–10 business days. |
| US Diagnostics Center | Offers at-home paternity kits from $79, analyzing up to 28 markers with 99.99% accuracy. |
FAQ
How long does DNA stay on a cheek swab?
DNA on a properly dried and sealed cheek swab remains stable for several days to weeks under normal conditions. Moisture and heat are the primary factors that degrade DNA during storage or transit, which is why kit instructions specify air-drying before sealing.
How accurate is a cheek swab paternity test?
When collection procedures are followed correctly, cheek swab paternity tests are highly accurate. US Diagnostics Center reports 99.99% accuracy analyzing up to 28 genetic markers per sample.
What should you not do before a DNA swab?
Avoid eating, drinking, smoking, or any oral hygiene activity for at least one hour before swabbing. Also remove dentures and rinse out any adhesive residue, since denture adhesives can destroy DNA on the swab tip.
Can you tell if DNA is male or female from a cheek swab?
Yes. DNA extracted from a cheek swab contains the full genetic profile of the donor, including sex chromosomes. Laboratory analysis can determine biological sex from the same sample used for paternity testing, though standard paternity reports focus on marker matching rather than sex identification.
Recommended
- Paternity Testing: The Complete Guide | USDC
- Paternity Test When Possible Fathers Are Related (2026) | USDC
- How to Establish Paternity: Every Option Explained (2026) | USDC
This article is part of our Paternity Testing: The Complete Guide and Understanding DNA Testing: How It Works and What to Expect guides.


0 comments